
It has been a while since I last used Flutter in a business context, so I had to rebuild the development environment from scratch. This article summarizes the actual steps I took to test a Flutter app on a real Android device, as a reminder and a quick reference for others facing the same situation.
① Prerequisites
Make sure you have the following ready before starting:
- An Android device (Developer options & USB debugging enabled — see instructions below)
- A USB cable
- Flutter installed on your PC (from the official site)
Android Device Setup
- Enable Developer Options
Go to your Android device and tap the [Build number] 7 times to activate Developer Options. - Enable USB Debugging
Once Developer Options are enabled, open the Developer Options menu and turn on USB debugging.
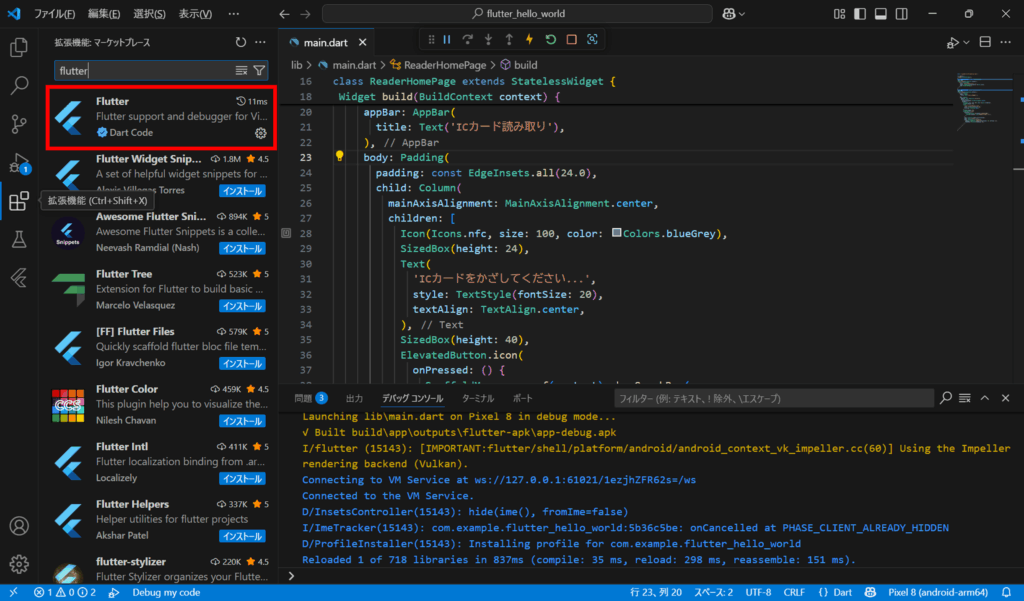
② Install the Flutter Extension (VS Code)
First, install the Flutter extension in Visual Studio Code.
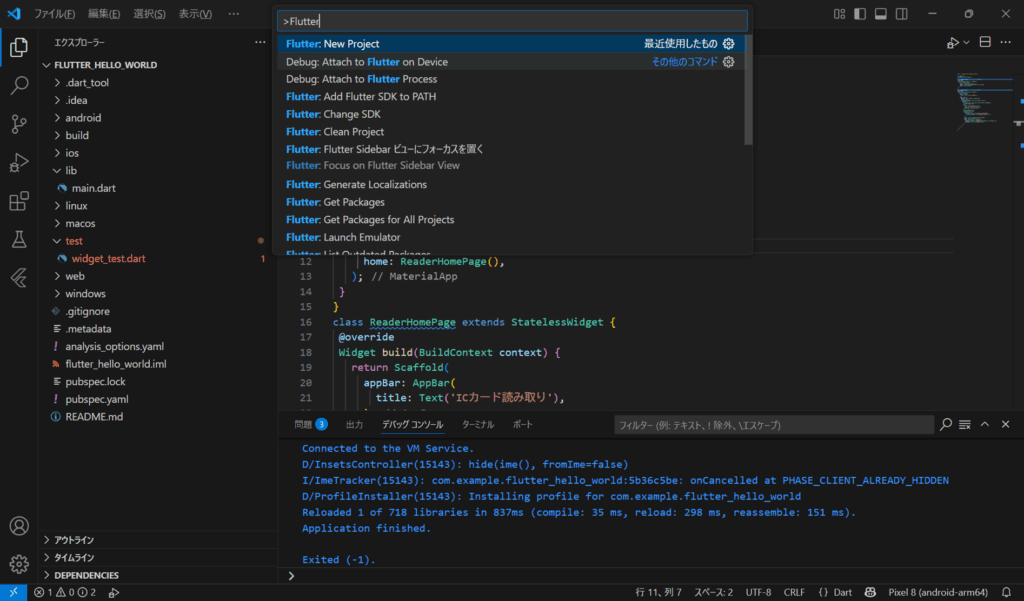
③ Create a New Flutter Project
- Press F1
- Type “Flutter” in the search box
- Select Flutter: New Project from the list
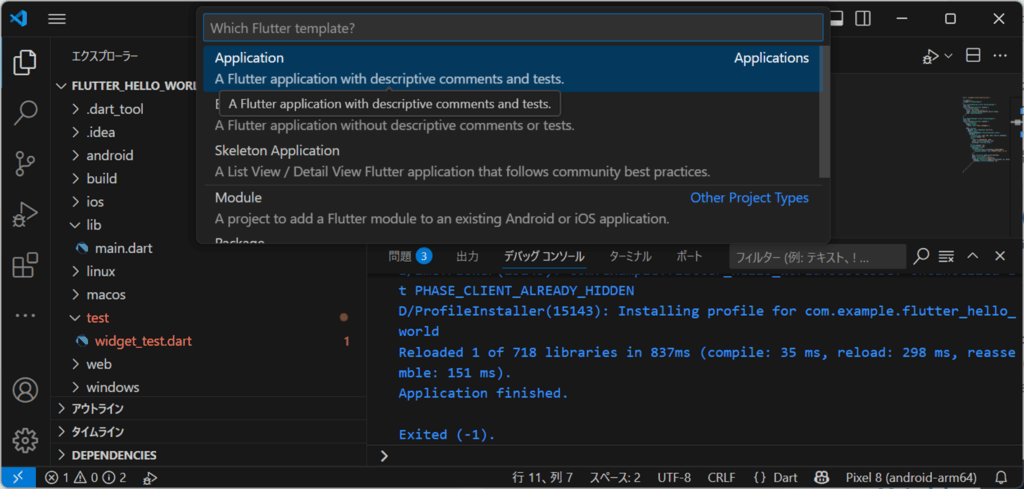
When prompted, choose the “Application” template and select a location to save the project.
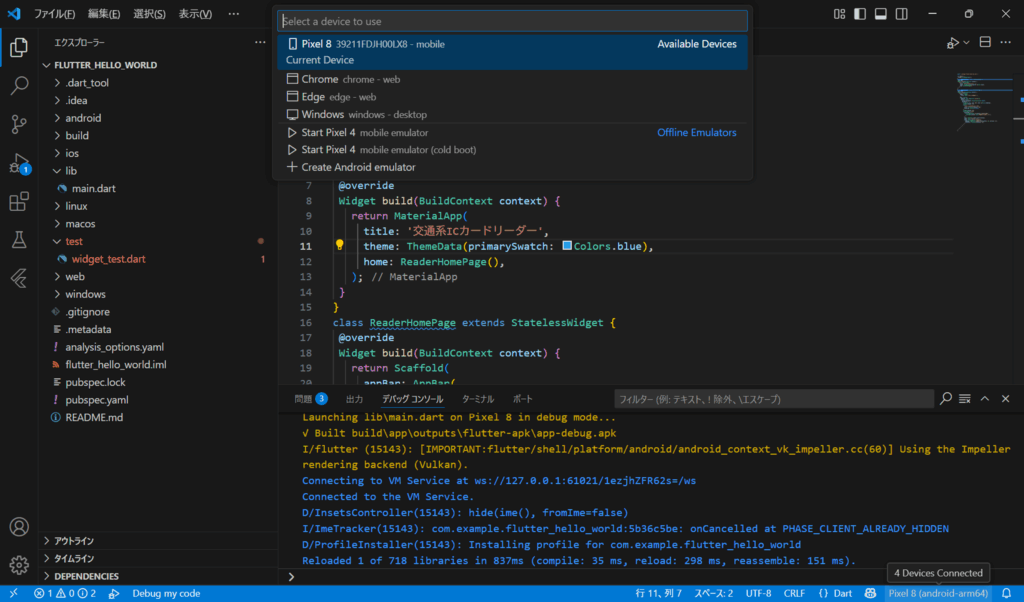
④ Connect and Detect Your Android Device
- Connect your Android device to the PC via USB
- If your device is recognized, you’ll see its name at the bottom right corner of VS Code
(If no device is connected, it will show “No device”)
If your device is not recognized:
- Run the
flutter doctorcommand to check for any errors - Make sure that Developer options and USB debugging are enabled on your Android device
⑤ Build and Run on a Real Device
Press F5 (Run and Debug) to build and launch the app on your connected device.
Testing your Flutter app on a physical device can help you catch real-world issues early. I hope this guide helps streamline your setup process. In future posts, I’ll cover other aspects of Flutter development, including app icon setup and splash screen customization.

Comment